On this page
- 1. Plan your channel structure
- 2. Set up roles and permissions
- 3. Secure the server before inviting people
- 4. Write the rules and post them in an embed
- 5. Set up welcome messages and a starter role
- 6. Let members pick their own roles
- 7. Launch tickets for support
- 8. Give people a reason to be active: levels and an economy
- 9. Tidy up voice channels
- 10. Promote the server and measure results
- Everything in one dashboard
- What order should you do it in?
- FAQ
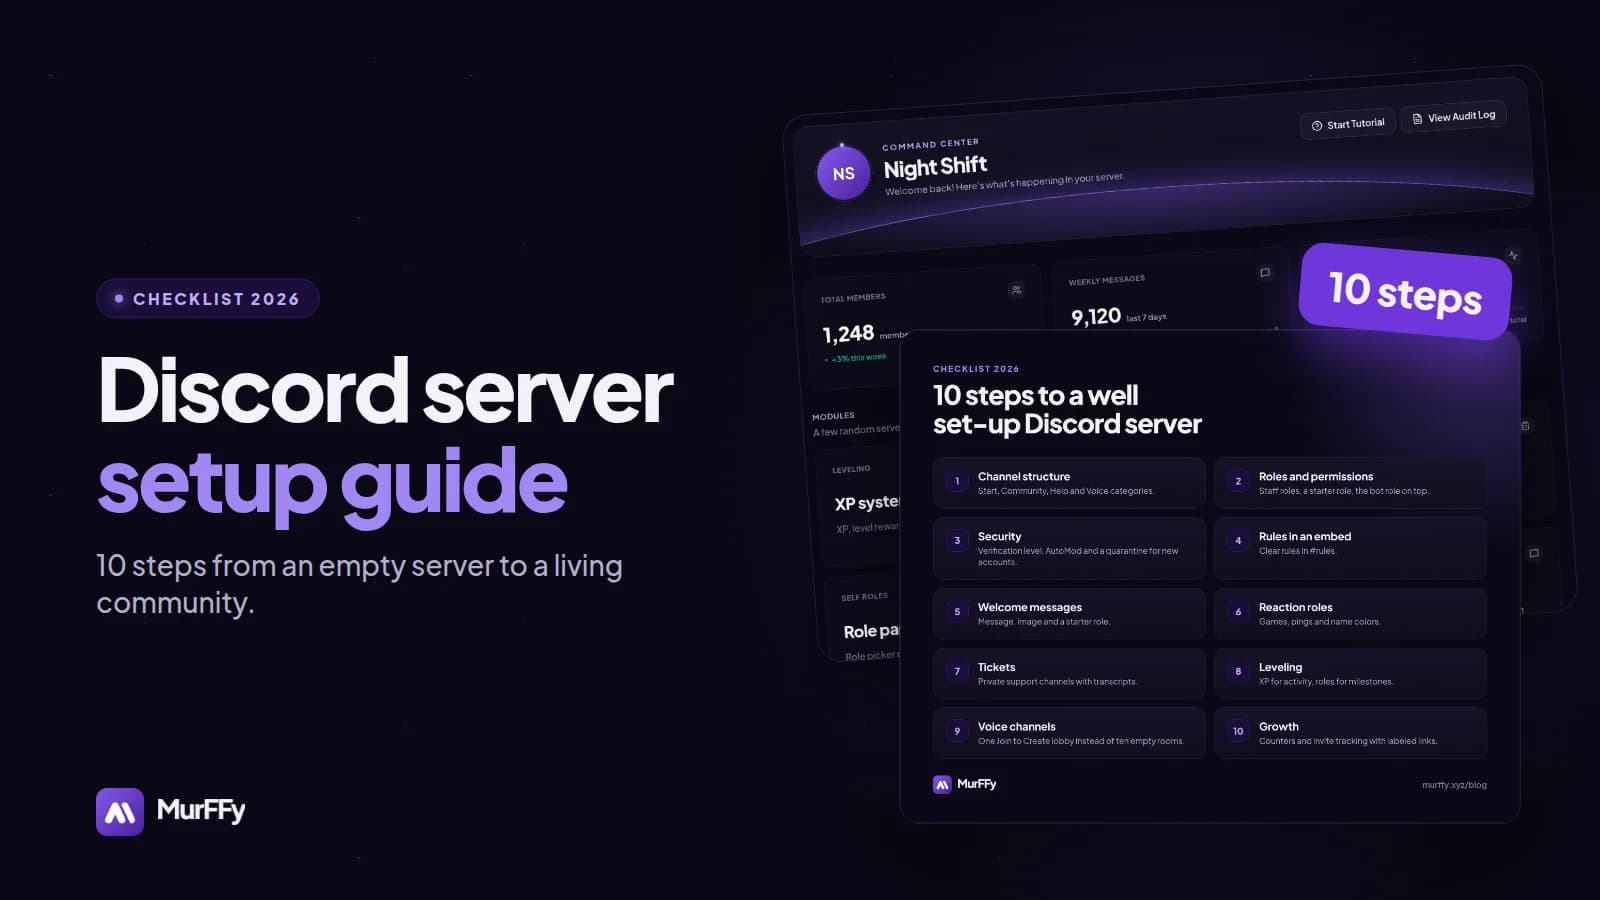
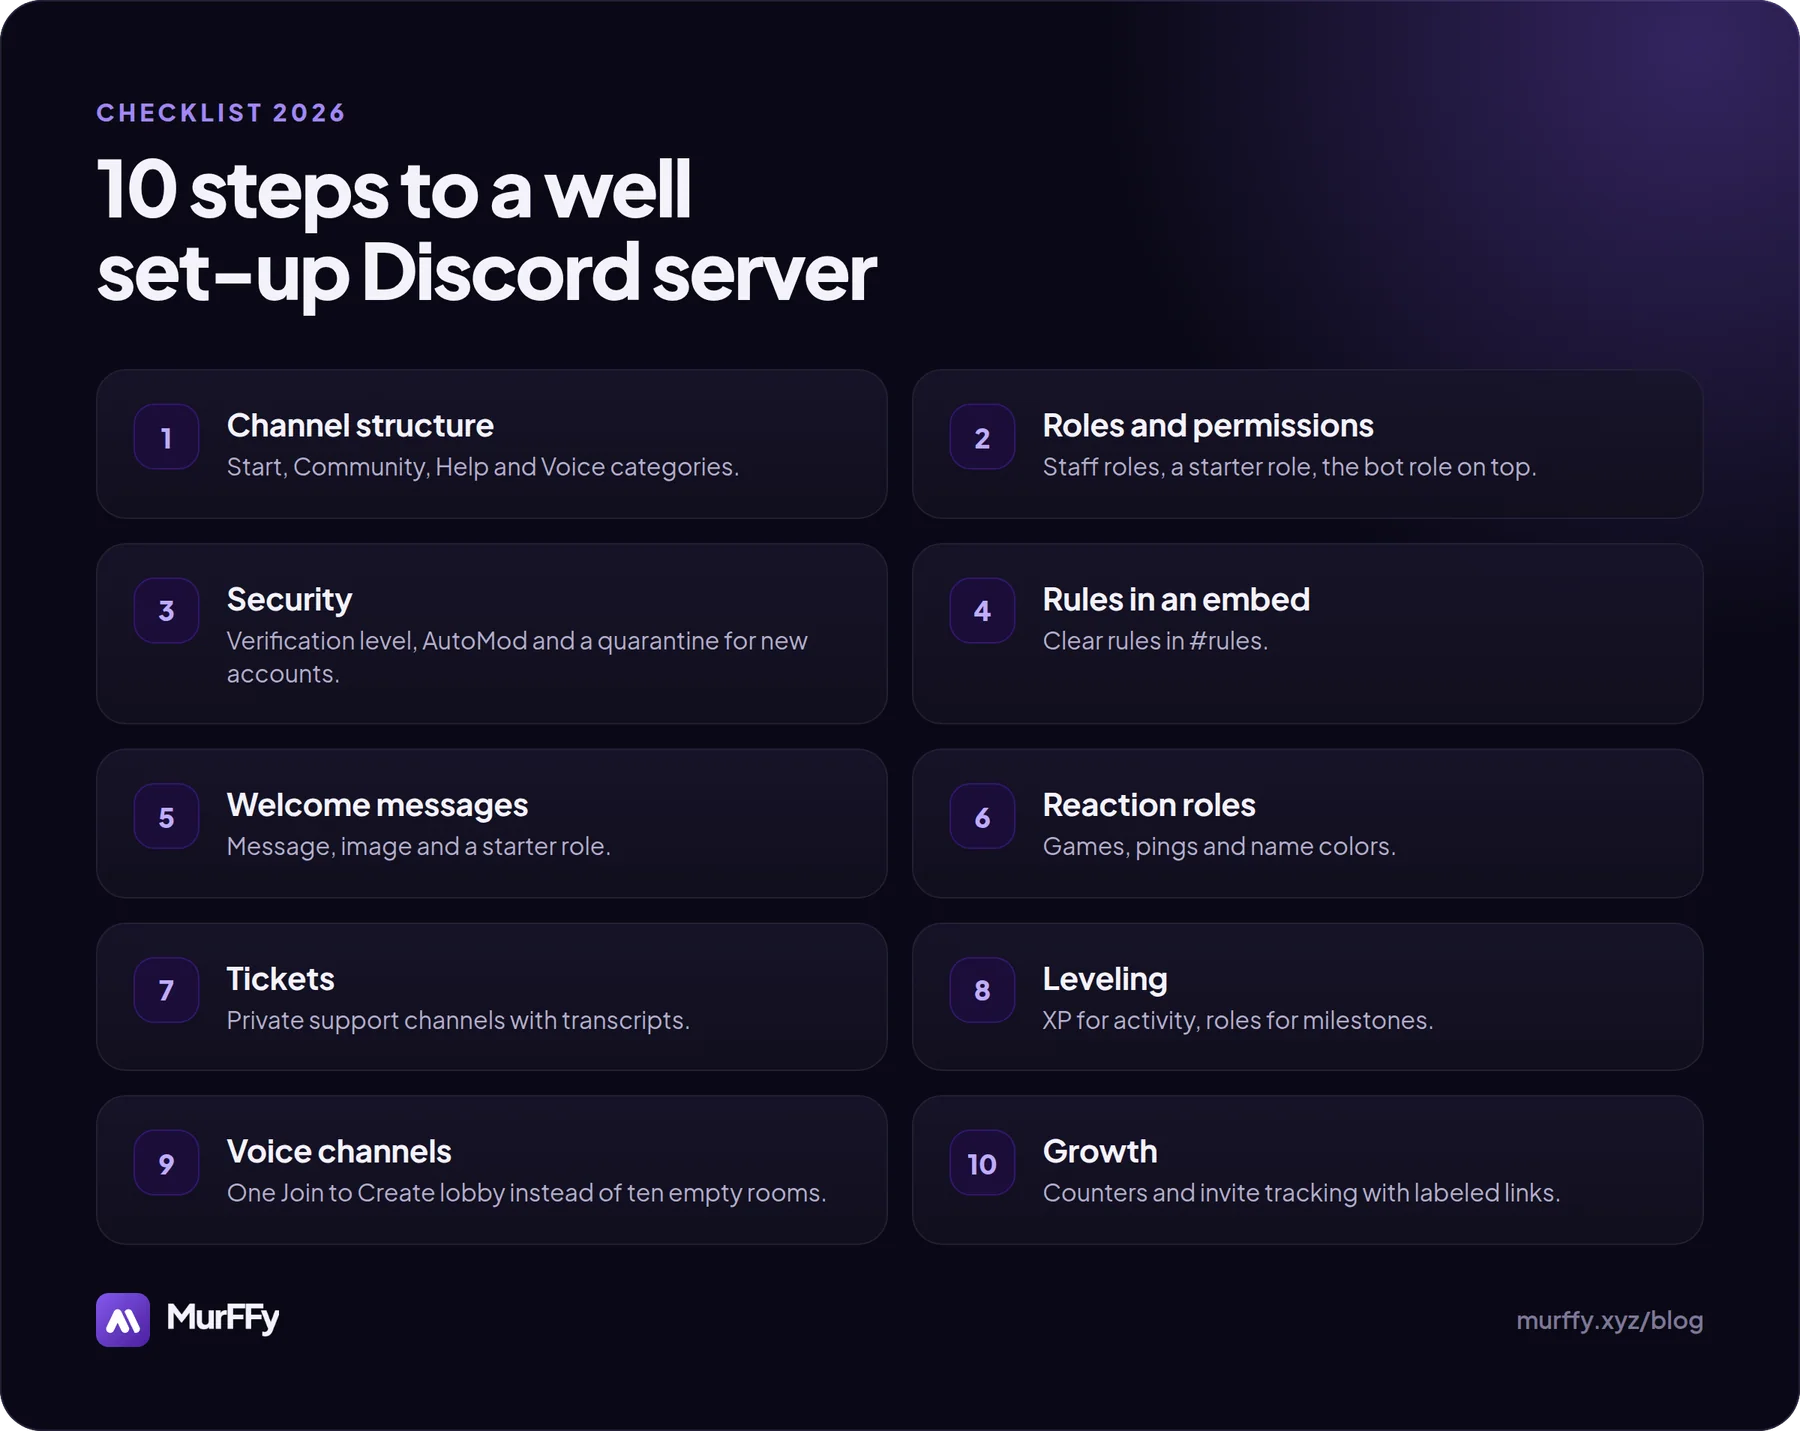
Creating a Discord server takes ten seconds. Building a server people want to stay on takes a little longer. This checklist walks you through everything worth setting up before you invite your first members: channel structure, roles and security, welcome messages, tickets and growth.
Every step links to a detailed guide, so you can do it all in one sitting or come back step by step.
1. Plan your channel structure
A new server usually starts with one text and one voice channel. Before adding more, group them into categories. Categories keep the list tidy and let you set permissions for many channels at once.
A proven layout for communities of up to a few thousand members:
| Category | Channels |
|---|---|
| START | #welcome, #rules, #announcements, #pick-roles |
| COMMUNITY | #general, #memes, #bot-commands, topic channels |
| HELP | #support, #transcripts (staff only) |
| VOICE | a Join to Create lobby and one permanent channel |
| STAFF | #bot-logs, a staff channel (hidden) |
Rule of thumb: start with fewer channels than you think you need. Five active channels beat twenty empty ones. Add more when the existing ones get crowded.
2. Set up roles and permissions
Discord roles work top-down: a role higher in the list can manage the roles below it. Set them up in this order (top first):
- Admin: the owner and trusted people.
- The MurFFy bot role: above every role the bot assigns.
- Moderator / Support: the team that answers reports.
- Reward roles: such as Legend or Veteran from levels or the shop.
- Self roles: games, pings, colors.
- Starter role: such as Newcomer, given automatically.
Don't give @everyone permissions like Mention @everyone or Manage Messages. Set channel permissions on categories so you don't repeat the same thing on every channel.
3. Secure the server before inviting people
Raids hit new servers most often, because they have no protection yet. The minimum:
- verification level Medium in Discord's safety settings,
- AutoMod blocking mention spam and suspicious links,
- JoinGuard in MurFFy: new accounts to quarantine, spam bots kicked automatically,
- 2FA for anyone with moderation permissions.
Details and ready-made rules: How to protect a Discord server from raids.
4. Write the rules and post them in an embed
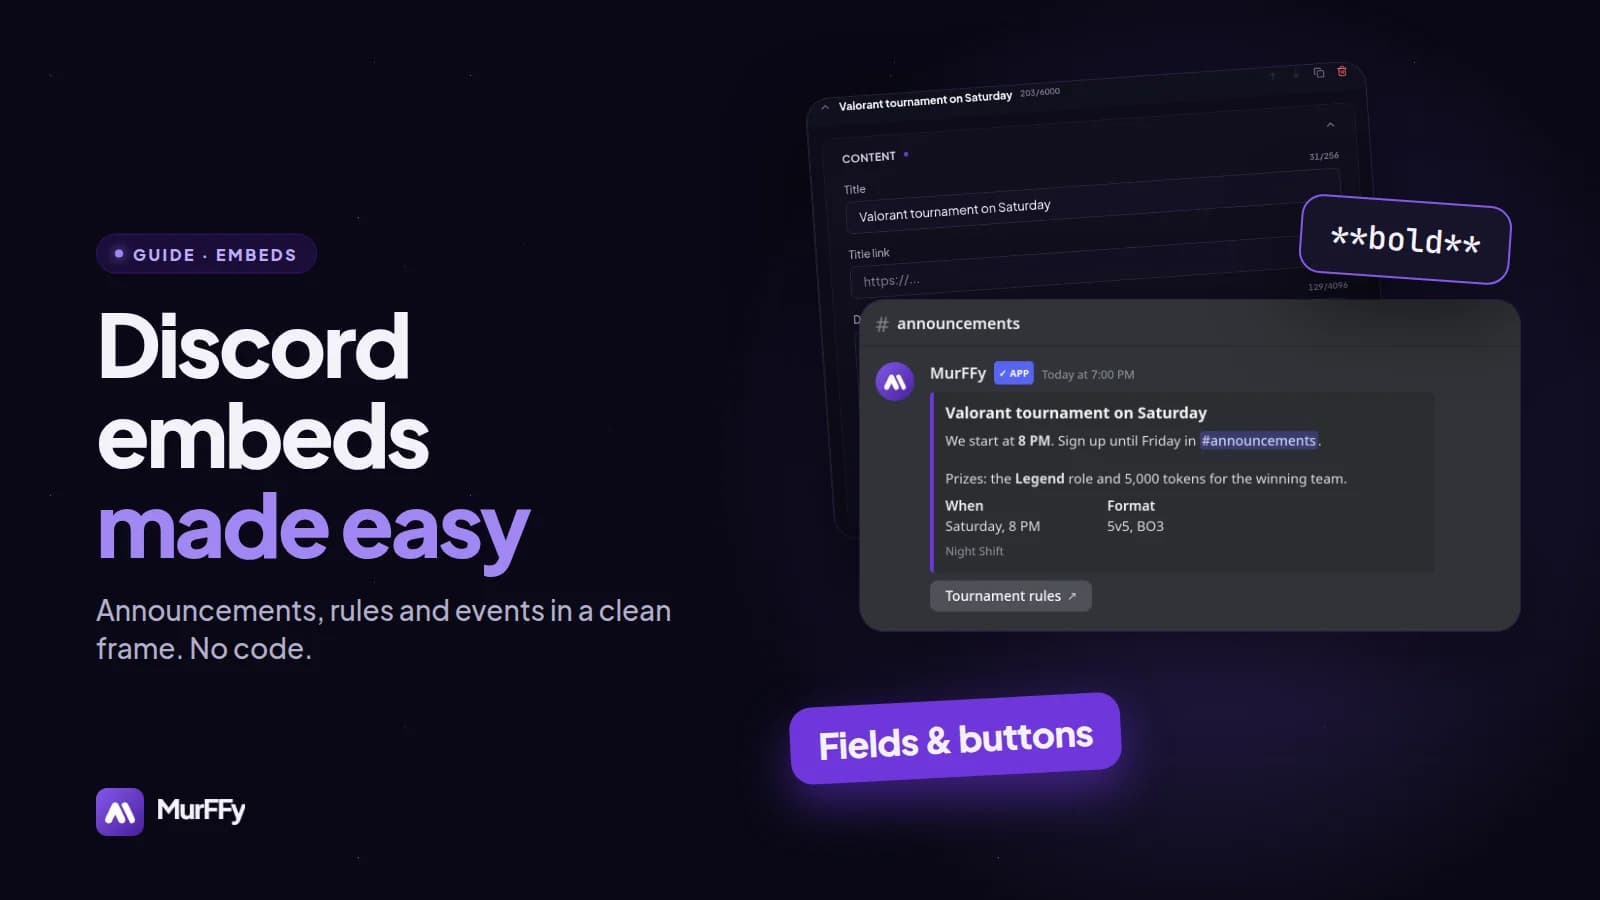
The rules are the first thing a newcomer reads and the basis of every moderation decision. Keep them short: 5–8 points, one sentence each. Rules in an embed look professional and read well:
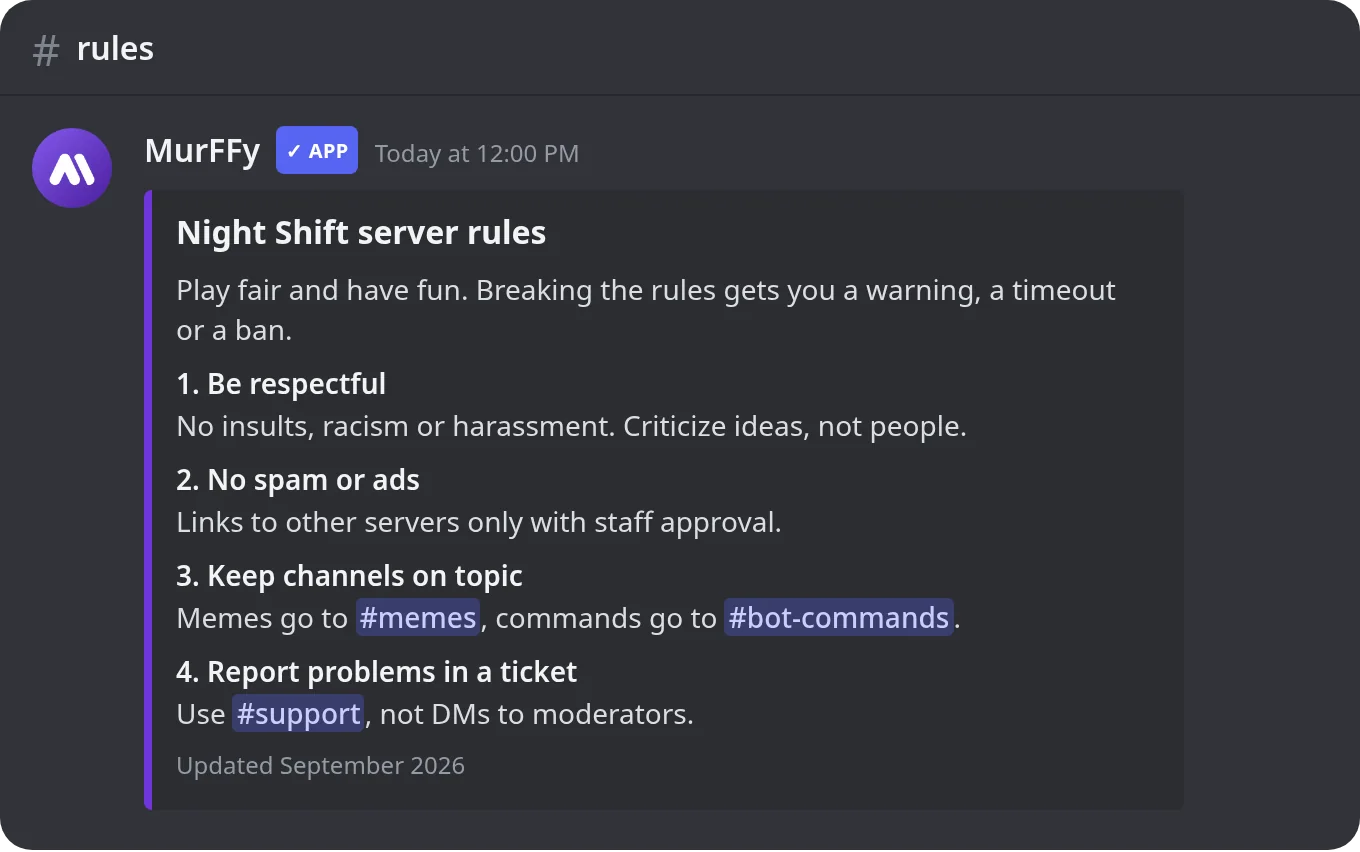
Step by step: How to make an embed on Discord.
5. Set up welcome messages and a starter role
The first minute decides whether someone stays. A welcome should mention the new member, point to the rules and give one next step, such as picking roles. Add an image with their avatar, a DM and an automatic Newcomer role.
Guide: How to make a welcome message on Discord.
6. Let members pick their own roles
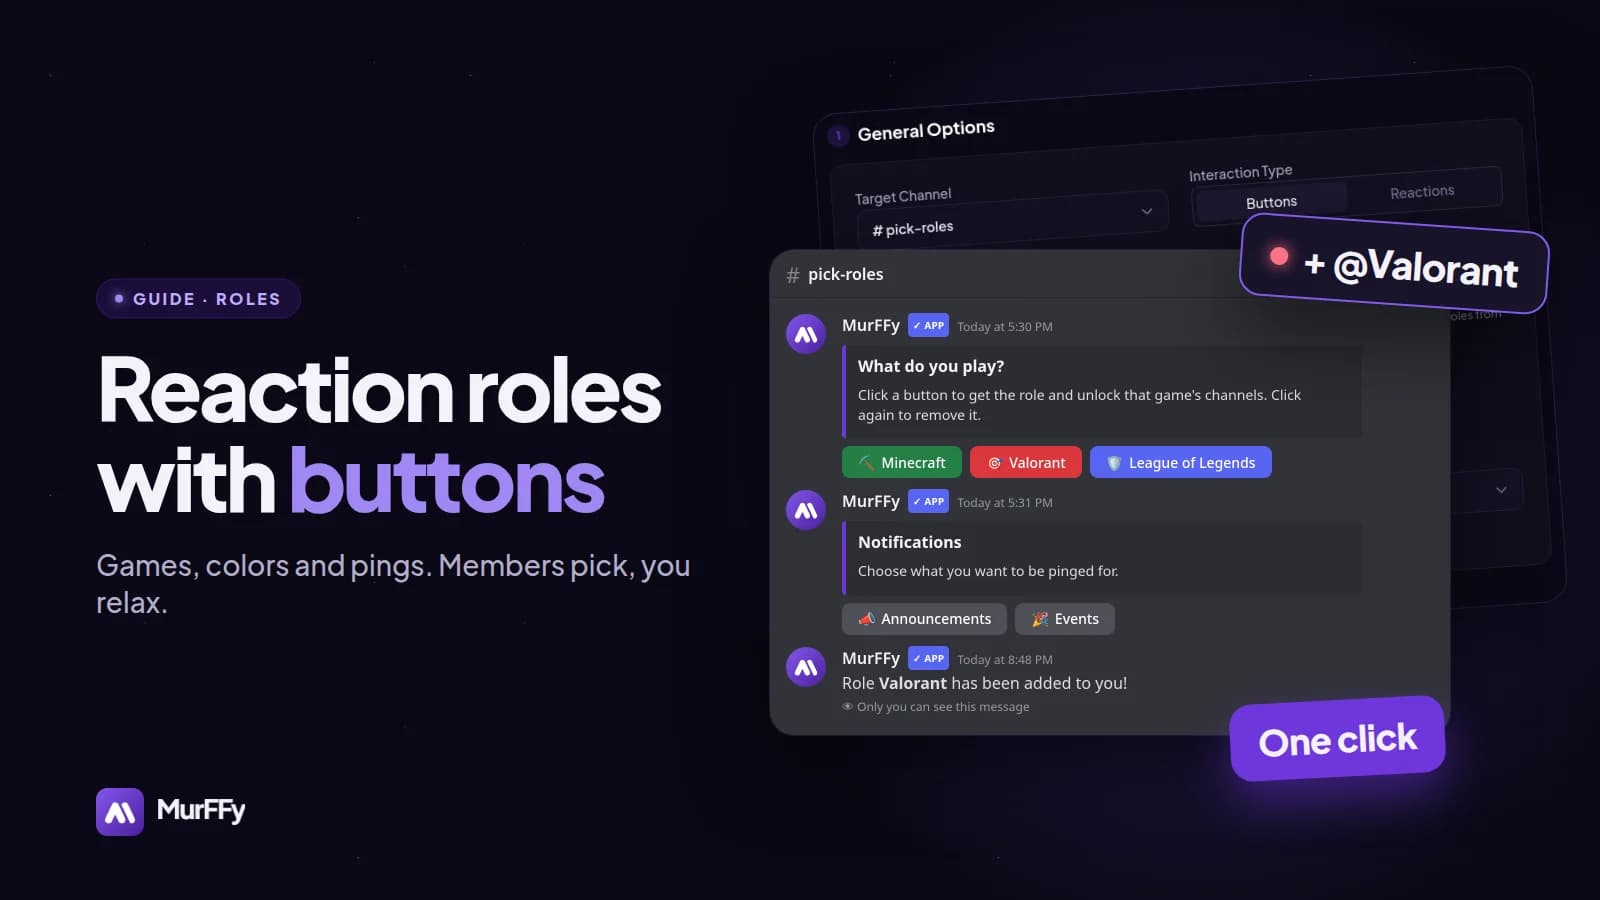
Self roles unlock game channels, turn on notifications and change name colors without involving moderators. They're also the best way to stop people muting your server: you only ping those who opted in.
Guide: Discord reaction roles.
7. Launch tickets for support
Instead of DMs to moderators: a panel with buttons, a private channel for every request, a staff member who claims it, and a transcript when it's closed.
Guide: How to make tickets on Discord.
8. Give people a reason to be active: levels and an economy
A leveling system rewards chatting and voice time with XP and hands out roles at milestones. An economy adds a currency, /daily and /work commands and a shop where roles are bought with currency.
Levels alone are enough at first. Add the economy once the server has a steady group of active members.
9. Tidy up voice channels
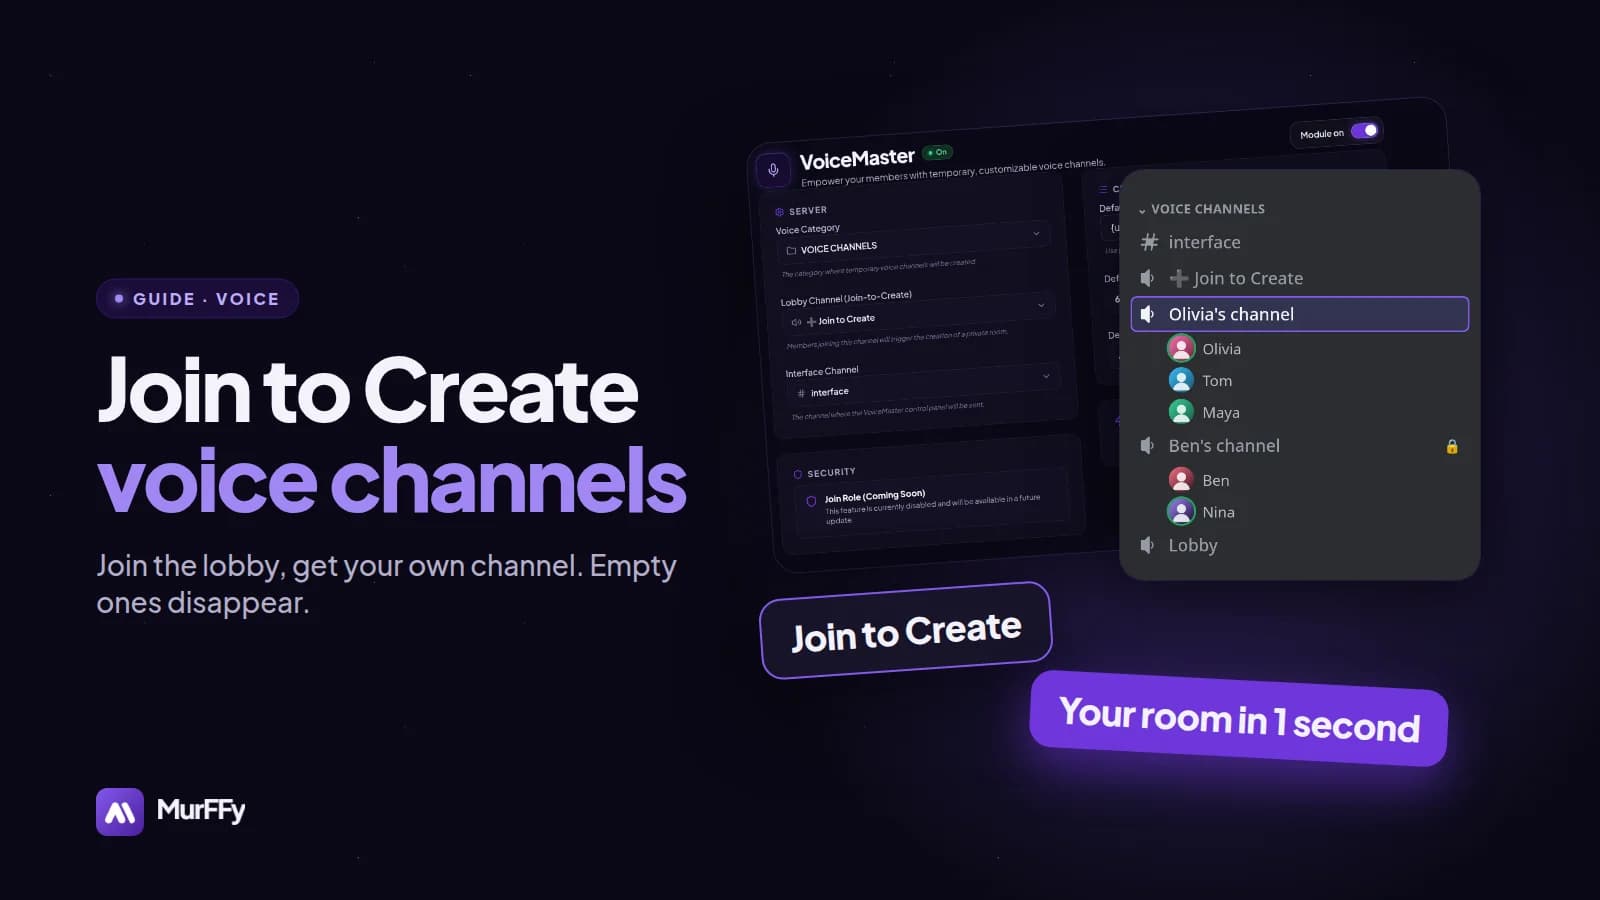
Instead of ten empty voice channels, set up one Join to Create lobby. Everyone who joins it gets their own channel, and empty channels disappear on their own.
Guide: Discord Join to Create voice channels.
10. Promote the server and measure results
Two simple tools that help you grow:
- Counters: channels whose name shows the live member count, boosts or a countdown to an event. Newcomers see right away that the server is alive.
- Invite tracking: separate links for TikTok, YouTube and partners show which promotion really works.
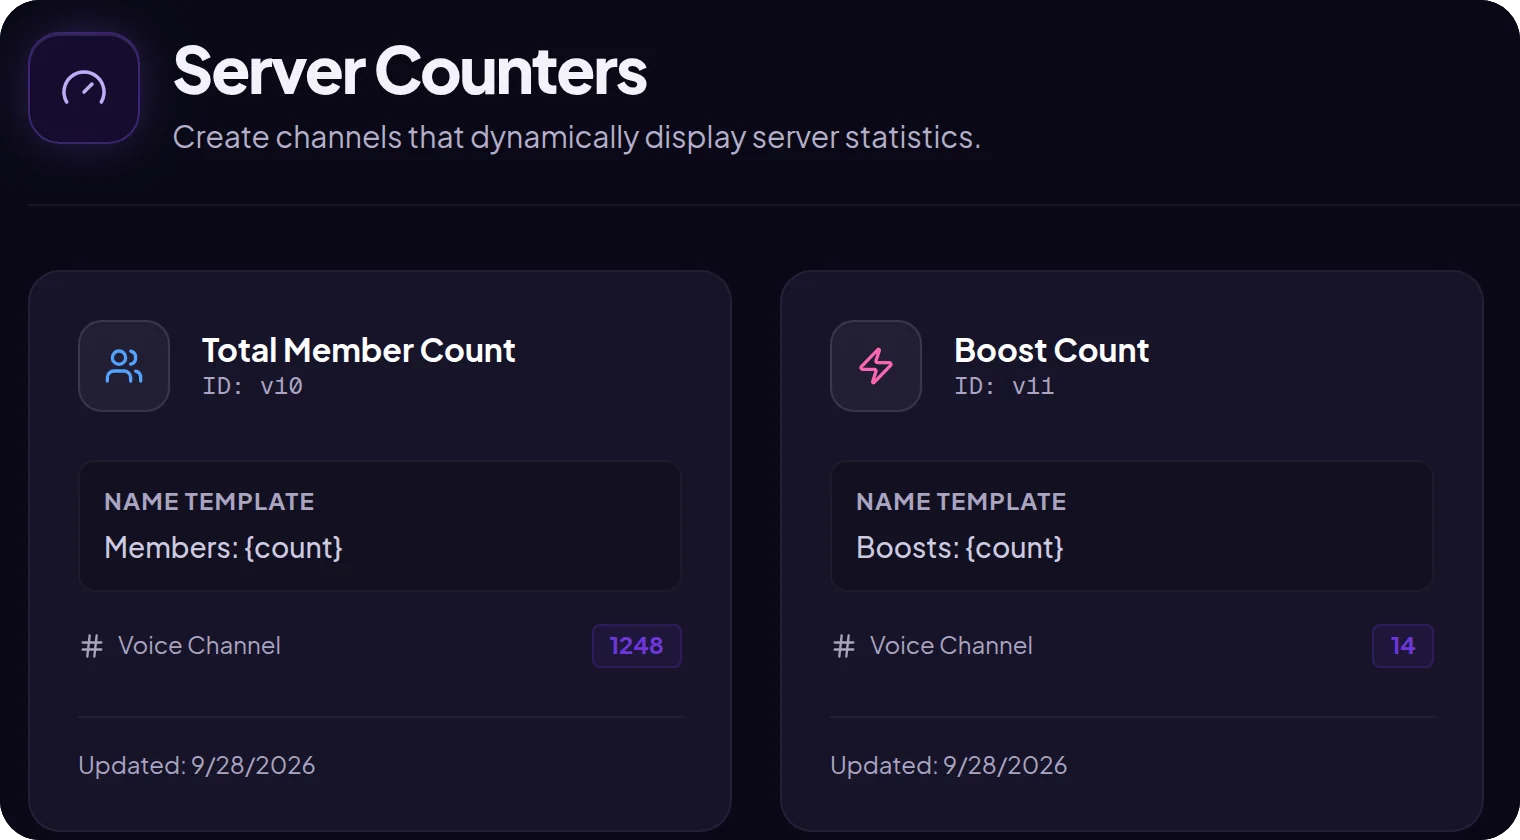
Guide: How to see who invited someone on Discord.
Everything in one dashboard
Every step on this list (apart from Discord's own settings) is configured in one place: the MurFFy dashboard in your browser. The Command Center shows your member count, activity for the last 7 days and shortcuts to modules.
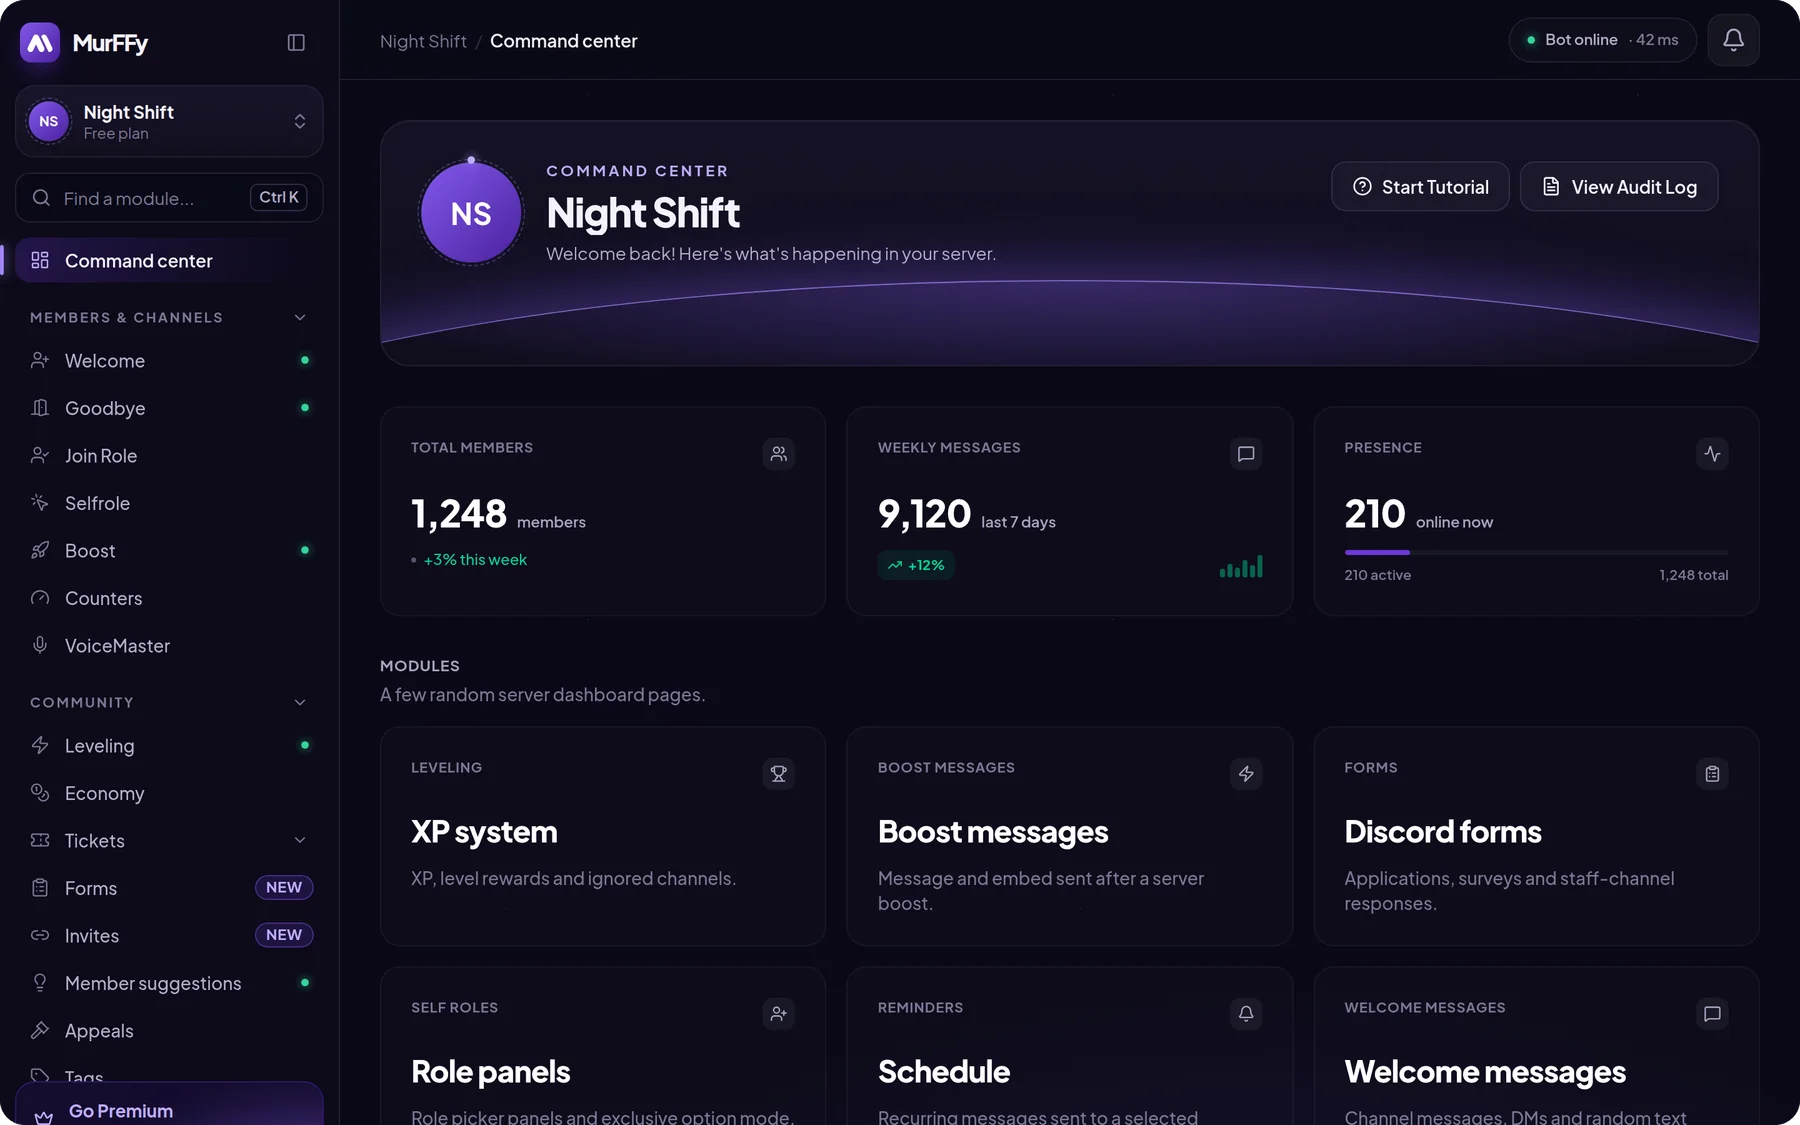
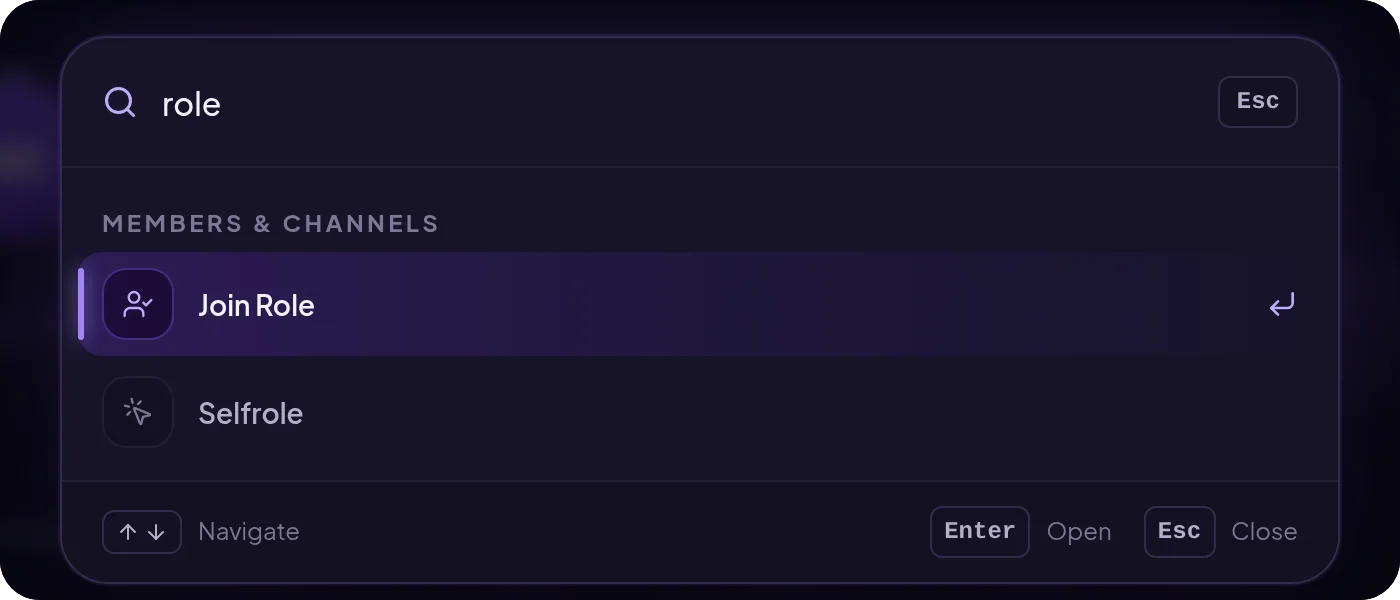
No need to hunt through menus. Press Ctrl + K and type what you're looking for:
What order should you do it in?
If you only have an hour, do steps 1–5. That's the foundation: structure, roles, security, rules and welcomes. Add steps 6–7 in the first week and 8–10 once you have regulars. Fewer features set up well beat everything switched on at once.
FAQ
How many channels should a new server have?
To start, 5–8 text channels in 3–4 categories and one voice lobby. Add more only once the existing channels are active.
Do I need several bots?
No. MurFFy handles welcomes, roles, tickets, levels, the economy, voice channels, counters, invites and raid protection in one bot and one dashboard. Fewer bots means fewer permissions to watch and fewer conflicts between them. The one thing it doesn't do is play music.
Is the setup free?
Yes. Every module on this checklist works on the MurFFy free plan. Premium raises limits and unlocks extras, such as a custom footer in welcome embeds or a public invite leaderboard.
How do I add the MurFFy bot to my server?
Log in at murffy.xyz with Discord, pick your server and click Add bot. You need the Manage Server permission.
Still choosing a bot? Read our honest comparison of the best Discord bots in 2026.
See all modules on the MurFFy features page.